


Copyright � 2017 by "Musical Instrument Repairs WA (MIRWA)" � All Rights reserved � E-Mail: service@mirwa.com.au


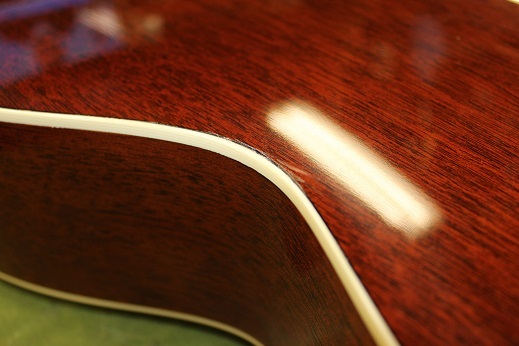
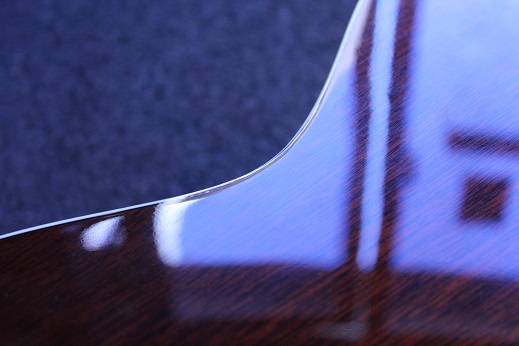
Wood expands and contracts dependant on the weather and amount of water it takes in as the humidity changes, binding around the edge of a guitar if made from a plastic or cellulose, expands and contracts at a different rate, this sometimes leads to binding coming loose, the reason the binding comes loose is not really because of the different expansion rates, but more to do with the glue substance used to hold the two together.
Loose binding can be an issue, binding is normally put on during the build of the guitar, as the glues are very volatile and eat lacquer, regluing loose binding has certain risks to the painted surface, so extra care must be taken to avoid damaging the finish or at least minimising that damage.
We also have a WARNING on this one, glue reacts occasionally with the finish,
do not do this tutorial unless you are confident in your finishing skills, occassionally
reactions occur, see bottom of this tutorial for an example.
Time to repair approx 1 hr over 2 days (glue drying times)
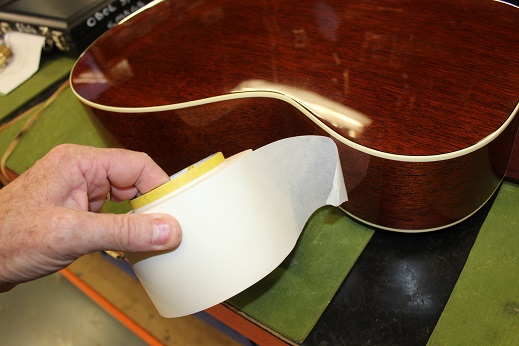
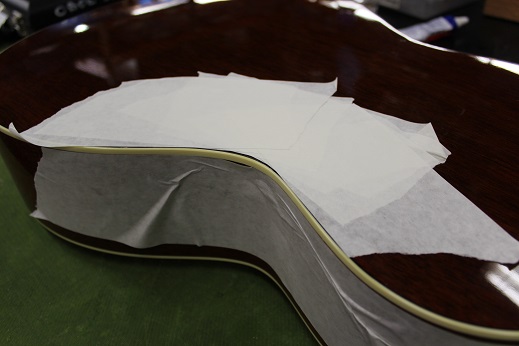
Using low tack tape, we are going to protect the existing lacquer
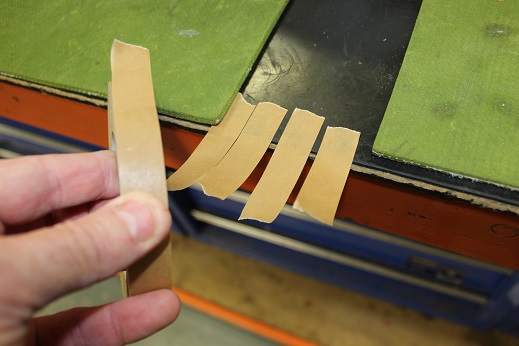
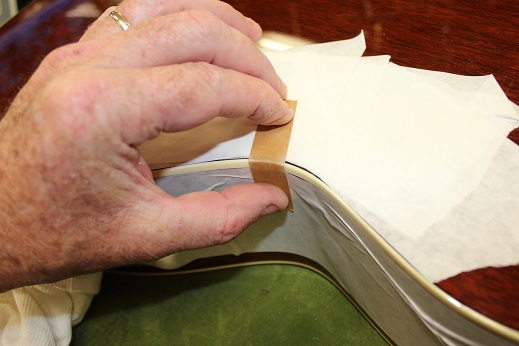
Before we add glue, we need to prepare some tape for holding the binding into place, here I tear off 5 strips.
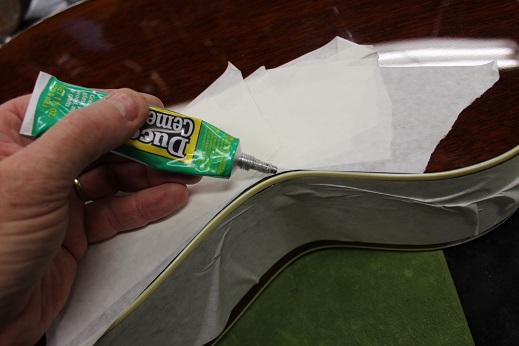
Apply the glue, I use Duco Cement, it is very volatile and will eat the finish lacquer of some guitars, its this volatility that you need to effectively bite into the binding to hold it in place.
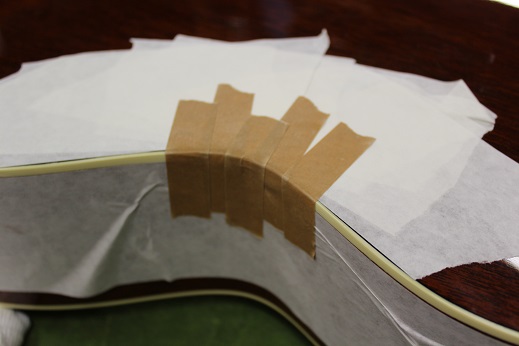
First strip on
Back it up with the rest, nice and tight.
Allow to dry for 24hrs, then remove the binding tape and low tack tape.
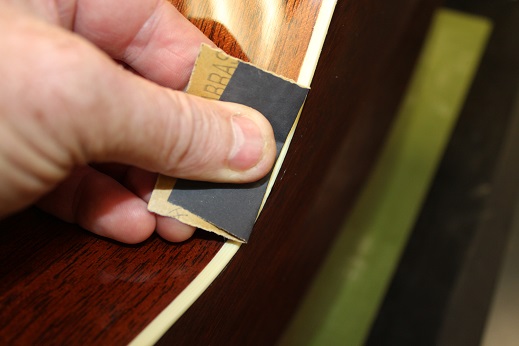
Lightly wet sand the binding smooth to remove any glue squeeze out
Follow up with a buff onto the back and sides to blend the repair area back in.
Job Finished.
Job Finished.

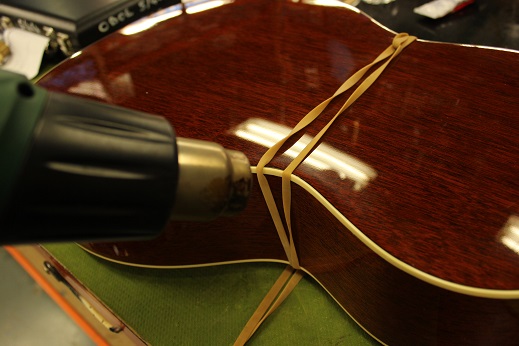
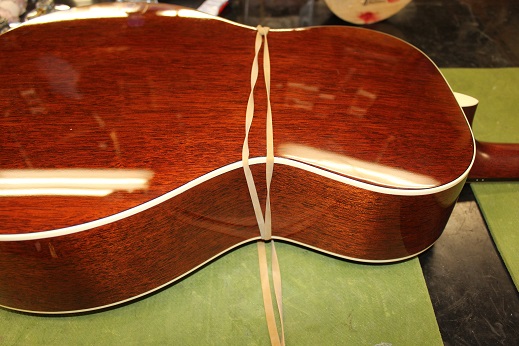
Using an elastic strap, we pull the binding nice and tight into the body.
Apply light heat for around 5 minutes, this softens the binding and allows it to conform to the current shape.
Back and sides all protected.


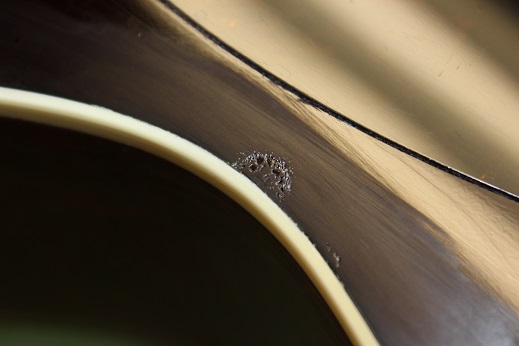
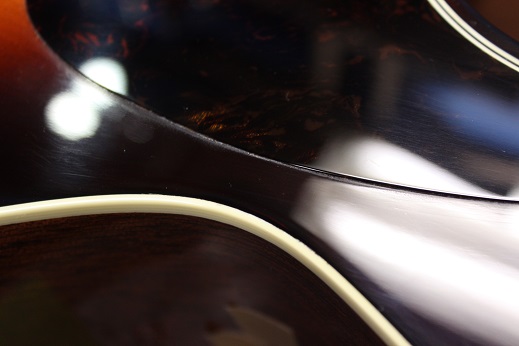
1 out of 10 Guitars will likely have a glue reaction, this one is an example of that situation.
After removing the tape, this one had two spots that had damaged lacquer, it has left deep pits and craters in the finish.
This is a direct result of the glue used, sometimes it reacts sometimes it does not.
After removing the tape, this one had two spots that had damaged lacquer, it has left deep pits and craters in the finish.
This is a direct result of the glue used, sometimes it reacts sometimes it does not.
You must be confident with your finishing skills prior to starting the job, this is the area locally repaired
WARNING
OCCASIONALLY THE GLUE REACTS WITH THE FINISH, YOU MUST BE CAPABLE OF DOING REFINISH WORK BEFORE COMMENCEMENT OF THIS TUTORIAL
OCCASIONALLY THE GLUE REACTS WITH THE FINISH, YOU MUST BE CAPABLE OF DOING REFINISH WORK BEFORE COMMENCEMENT OF THIS TUTORIAL


Other Binding Links


