


Copyright � 2017 by "Musical Instrument Repairs WA (MIRWA)" � All Rights reserved � E-Mail: service@mirwa.com.au


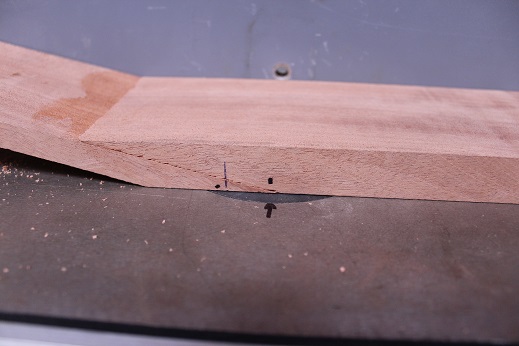
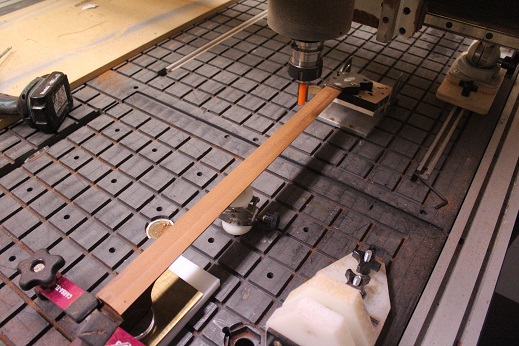
Placing a mark on our table and our neck we align our stop point.
We feed the neck over the router bit until the marks meet up and then turn the machine off.
We swap the router bit for a slightly larger one 5/16 inch


Check our cut, it needs to come down the neck further to accomodate the head of the truss rod.
2 marks later, neck fed up to and onto the new stop point.

Test fit our truss rod.
Installed, this particular job will progress into some carving and shaping.
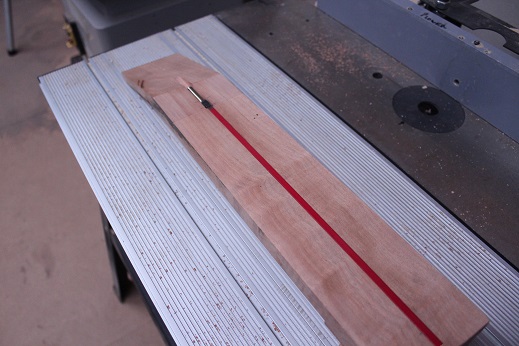
I have centre marked the neck at the headstock area
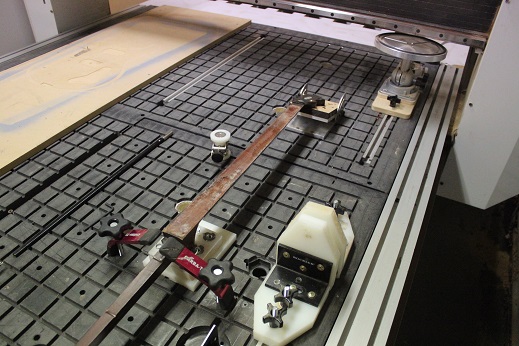
An existing neck needs to be slotted from above, a pin router or cnc hand operated router are ideal.
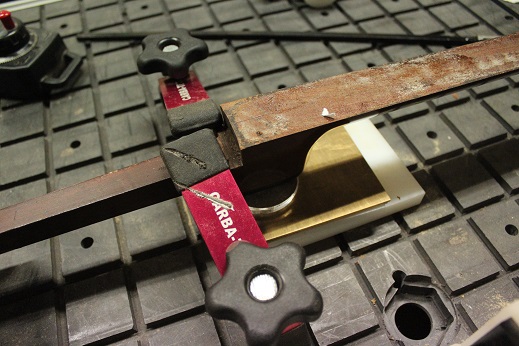
Also centre marked down at the heel


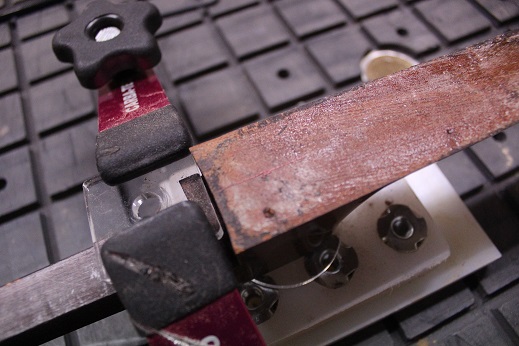
The head is mounted on an adjustable mini angle plate
The heel is clamped and shimmed to achieve an even height over the fretboard relative to the overhead router.
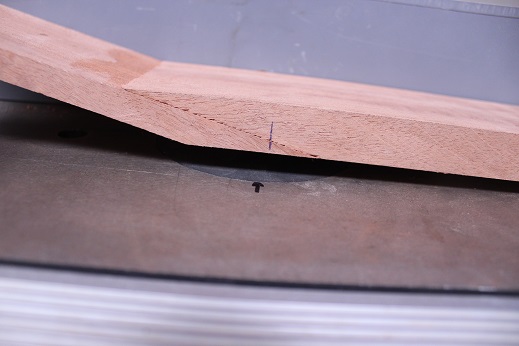
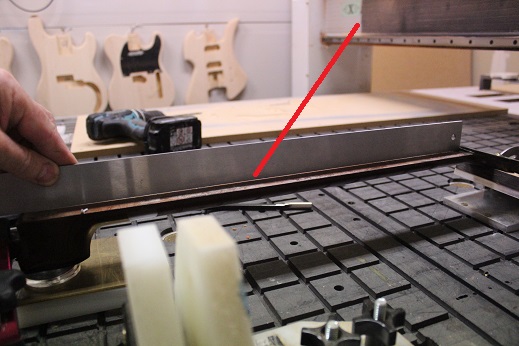
When the heel and head are clamped, the body of the neck will have a tendency to dip, as indicated by the arrow using a straight edge.

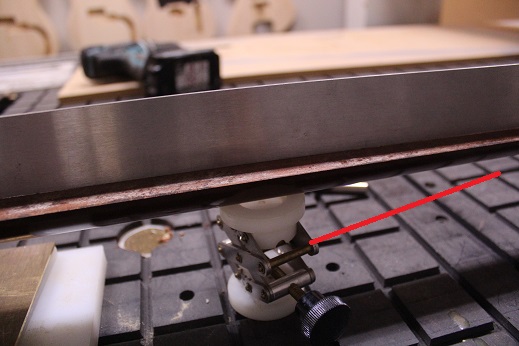
We place a small scissor jack under this area and raise it as required to achieve a straight neck.
Having jigged and aligned the neck, we use a larger cutter to make sure everything is clean and flat and all the old glue is gone.