


Copyright � 2017 by "Musical Instrument Repairs WA (MIRWA)" � All Rights reserved � E-Mail: service@mirwa.com.au


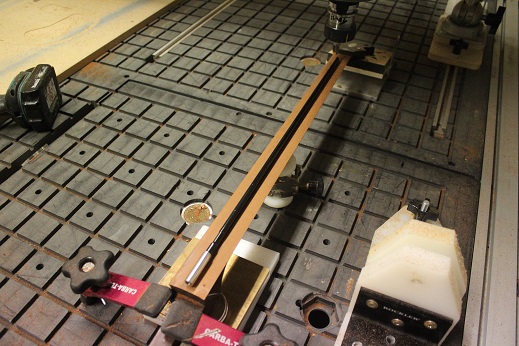
Placing the truss rod on the neck we can mark where we want to remove wood.
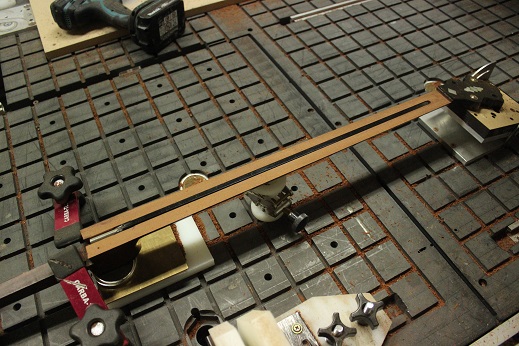
A 1/4 inch router bit is mounted into the router, this was actually done before I machined the board flat, but its here to show the right cutter is fitted to do the job, we also align the neck with the machine on our neck and heel marks so its nice and straight.
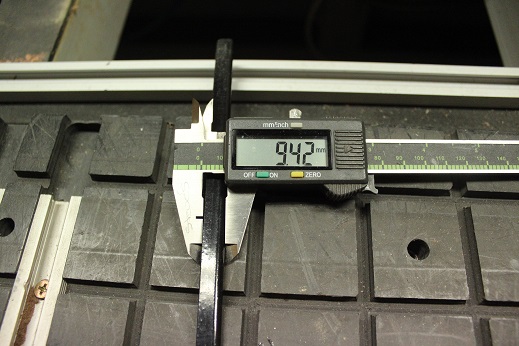
The truss rod is 9.42mm deep, so we will machine the wood away to a depth of 9.5mm
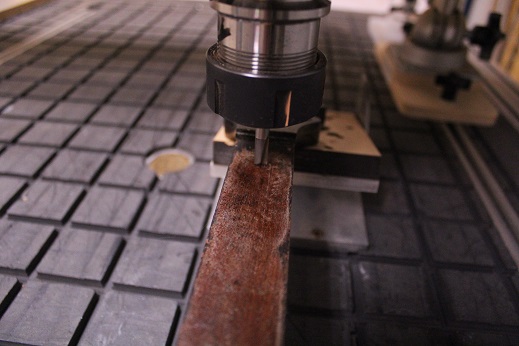
The head of the truss rod slot needs to be opened up .5mm larger than the slot, I have just moved the router bit across to achieve this rather than fit a larger cutter.
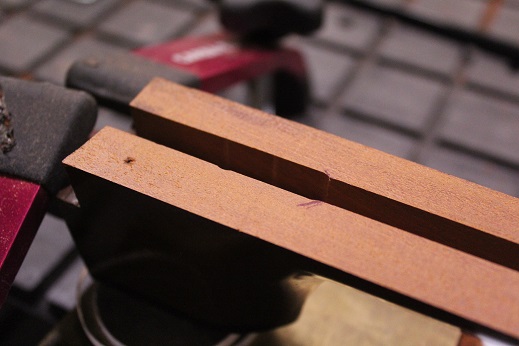
Test fit the truss rod into the new slot, tweak any machining as required.

Exactly as earlier, we do 1.5mm passes until we achieve a depth of 9.5mm


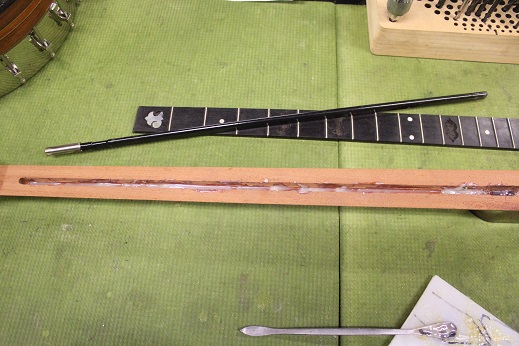
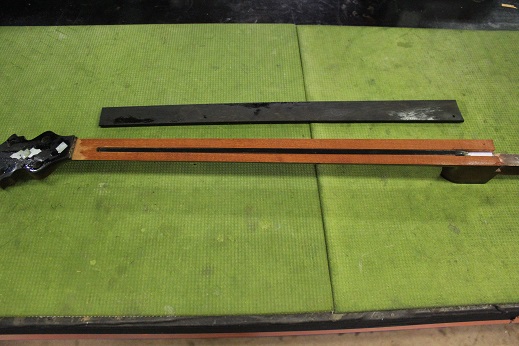
The base of a truss rod slot is square, the bottom of a truss rod is radiused, whilst its not a big deal, if I have a sealed truss rod being fitted, that is its fully insulated in a protective covering, then I will epoxy it in place to fill any voids between the flat base and radiused bottom.
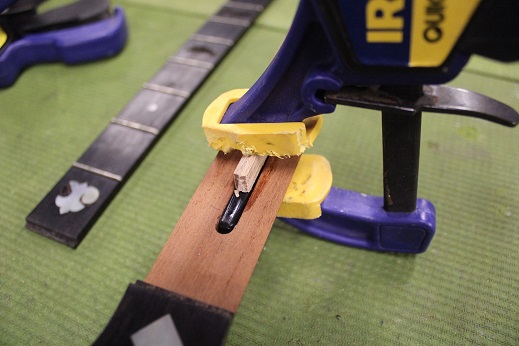
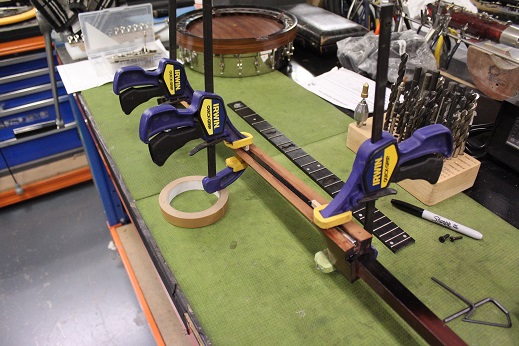
Using a small piece of wood, we clamp the truss rod into place against the bottom
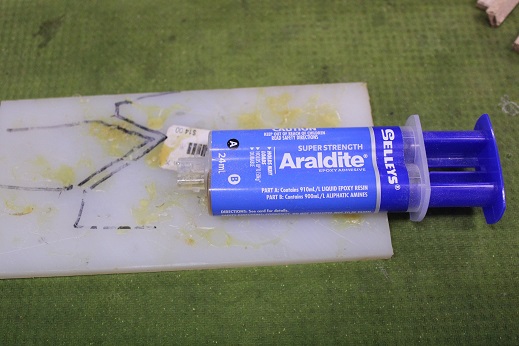
Apply the epoxy to the base of the slot.
Allow to dry for 24hrs.
Remove clamps, truss rod fitted

