These are some interesting repairs we have had to do, these are during repair, it was not done as a photo tutorial, but we have assembled an approximate repair process from the available photos we had kept


Copyright � 2014 by "Musical Instrument Repairs WA (MIRWA)" � All Rights reserved � E-Mail: service@mirwa.com.au


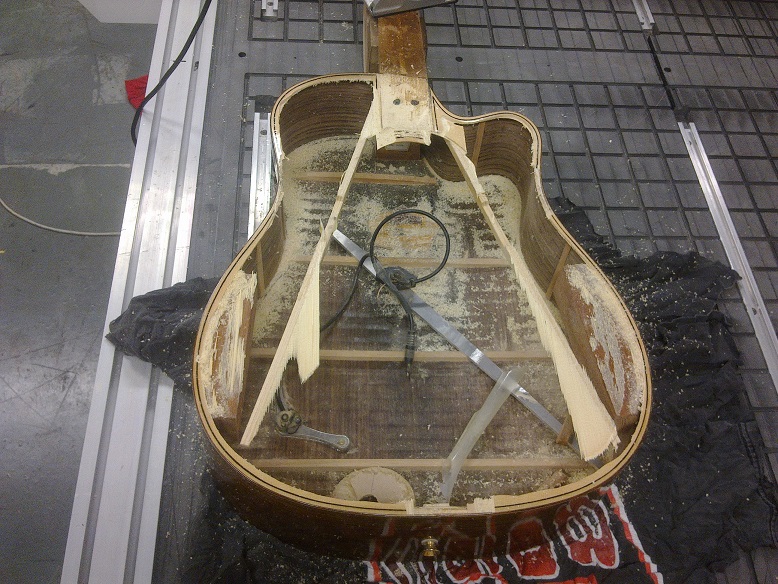
This Poor Cole Clark Has seen way better days


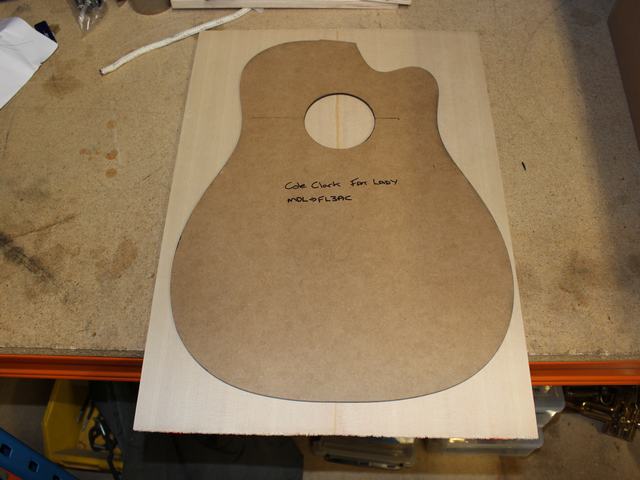
A template is traced from the existing top

We route the top edge to be able to remove
Top is now removed
At the same time we are addressing the finish, someone has used spray can clear and it did not hold very well
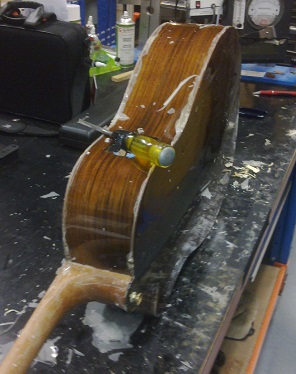
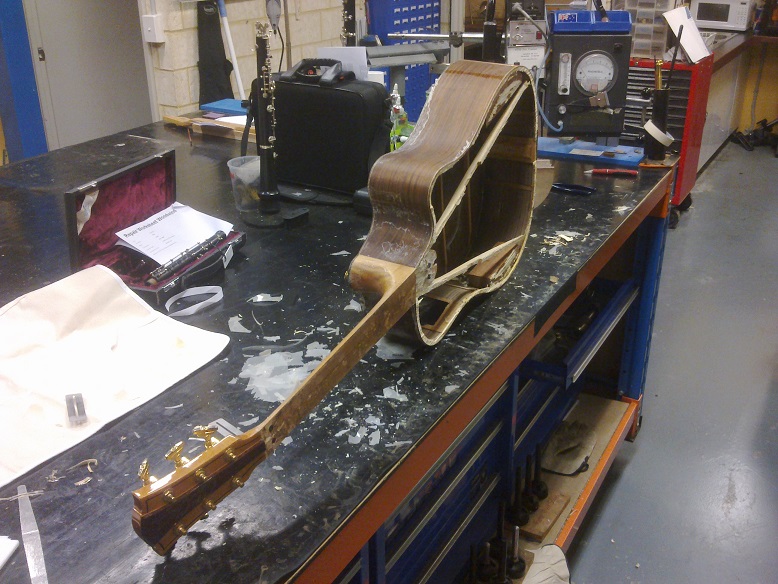
The paint is just coming of in sheets
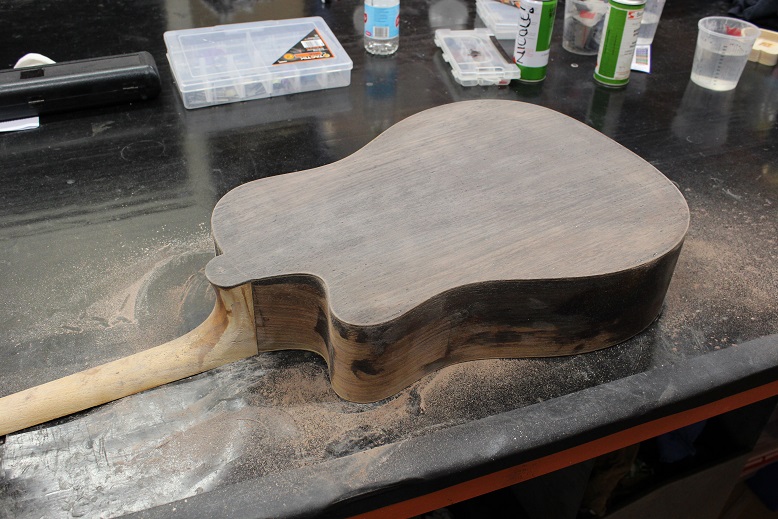
Sanding and pore filling the back and sides
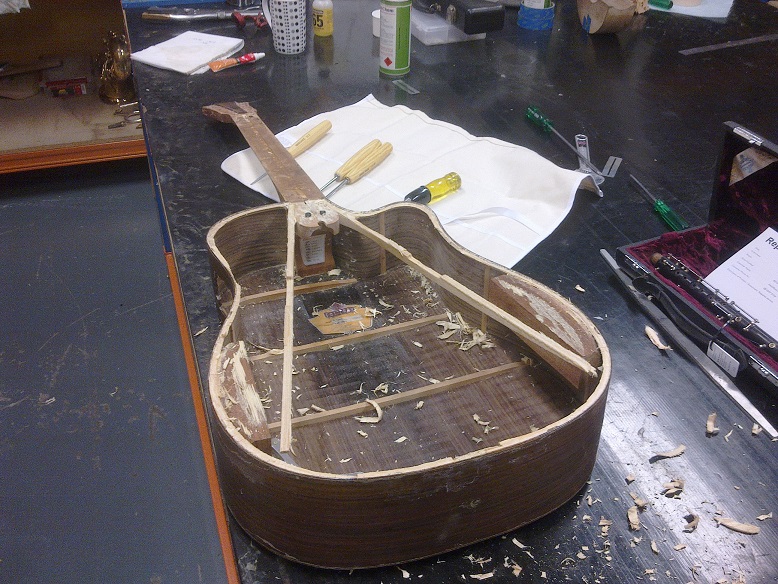
Cleaning up the mess inside.
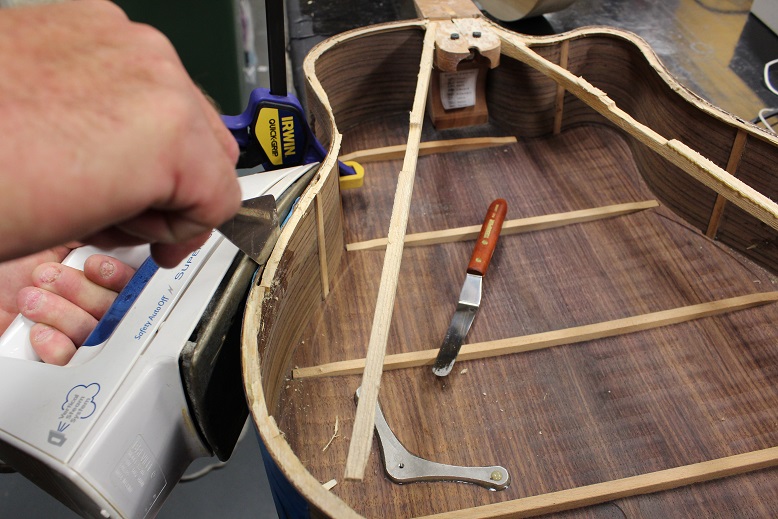
Removing the old kerfing.
Using the original template.
Joining some spruce for a new top
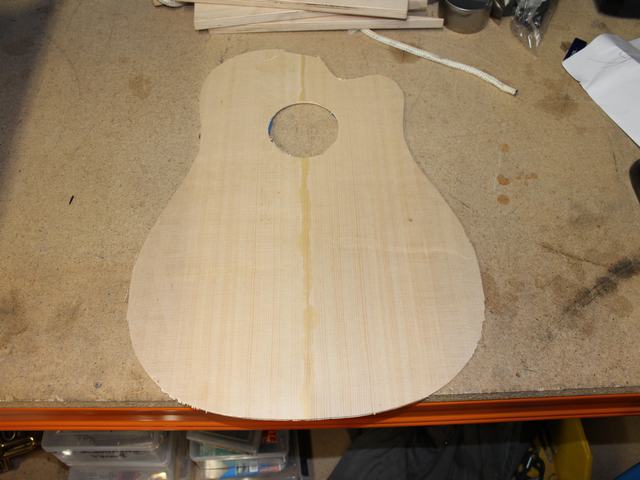
And the start of a new top.

Start thicknessing the top.
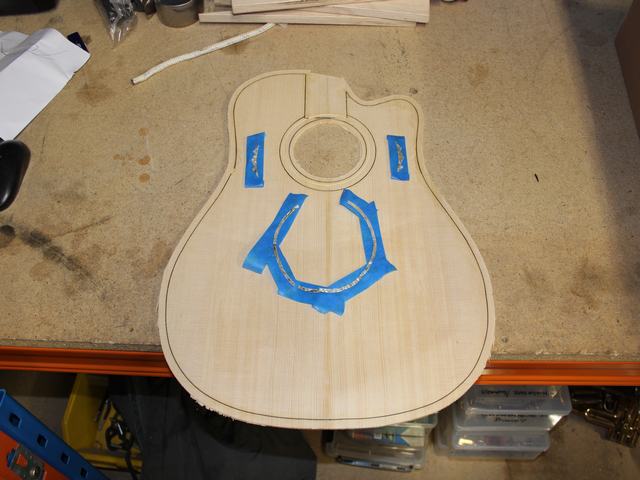
Inserting some black ebony stripps into the top, marking out positions for pearl inlays
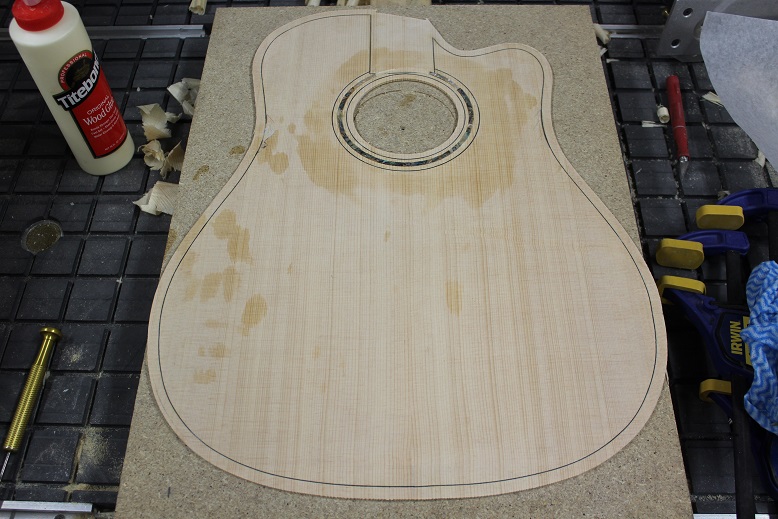
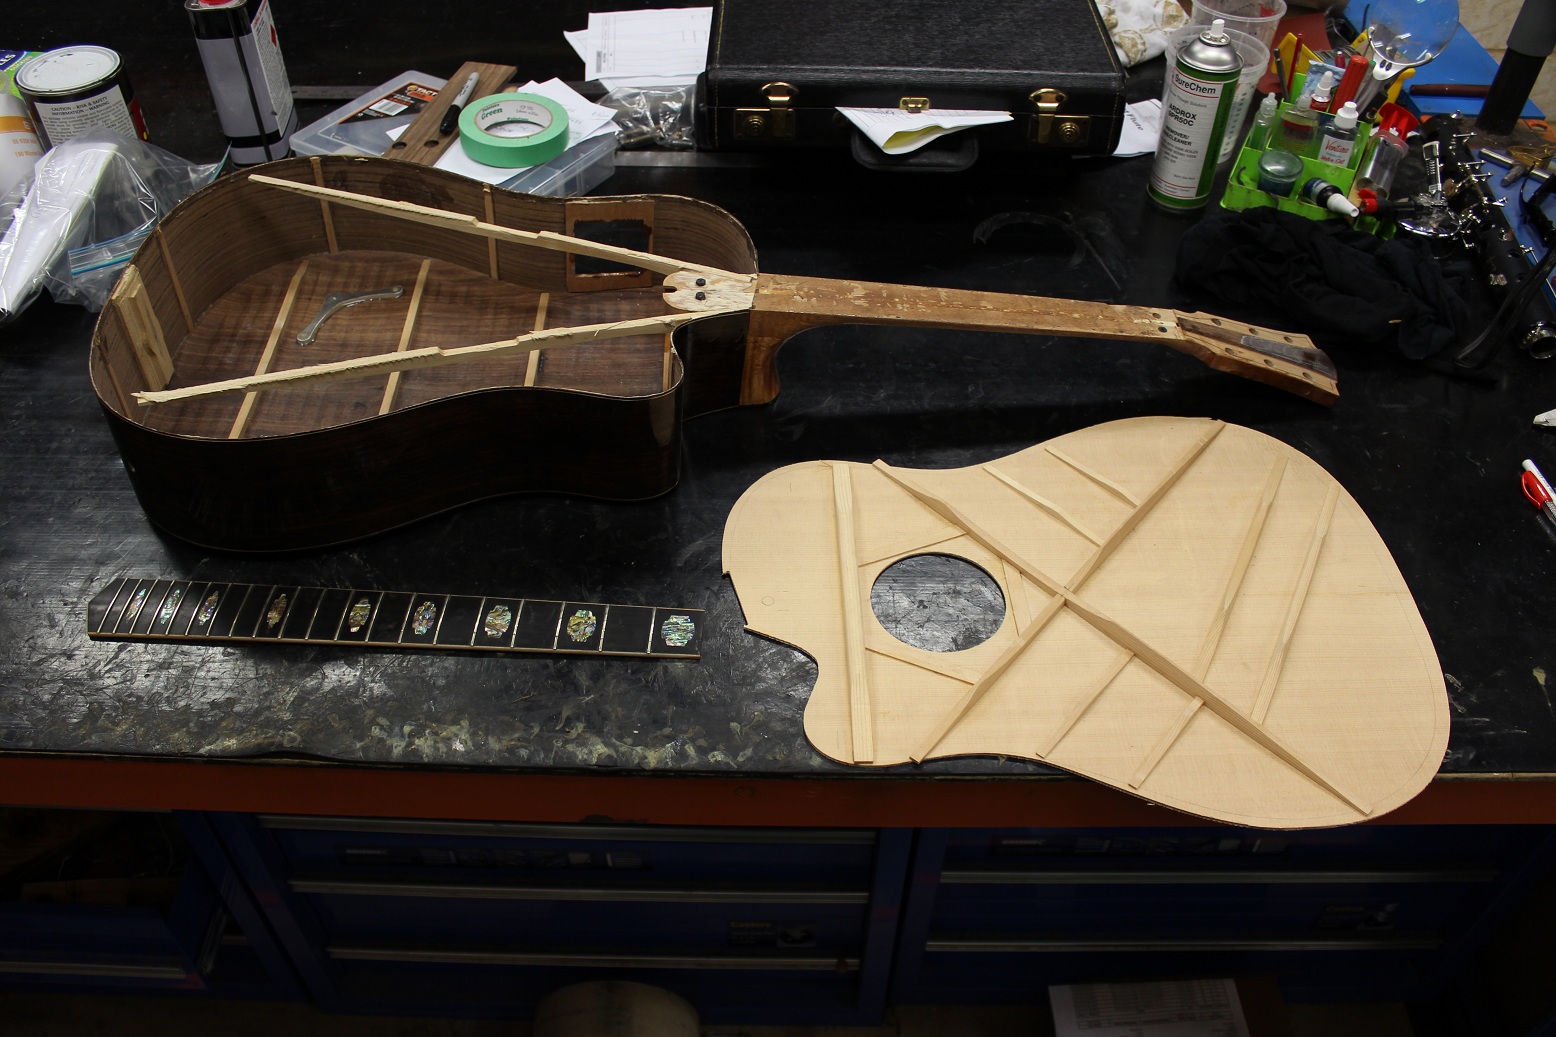
From this side, starting to look like a top again
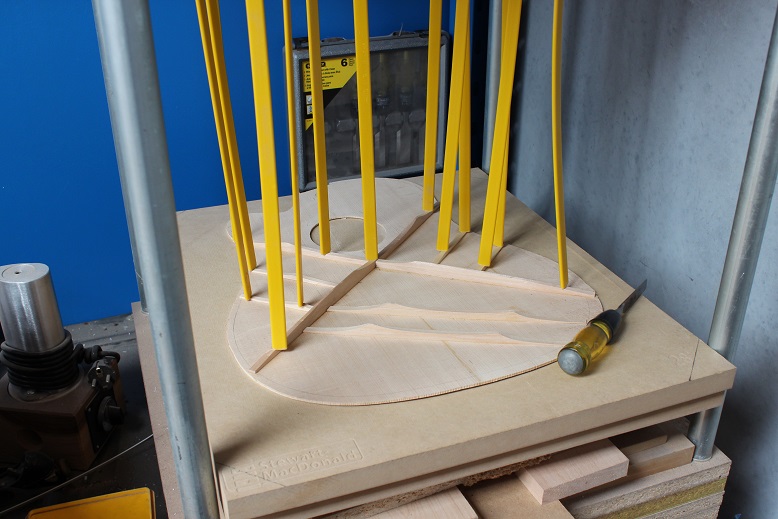
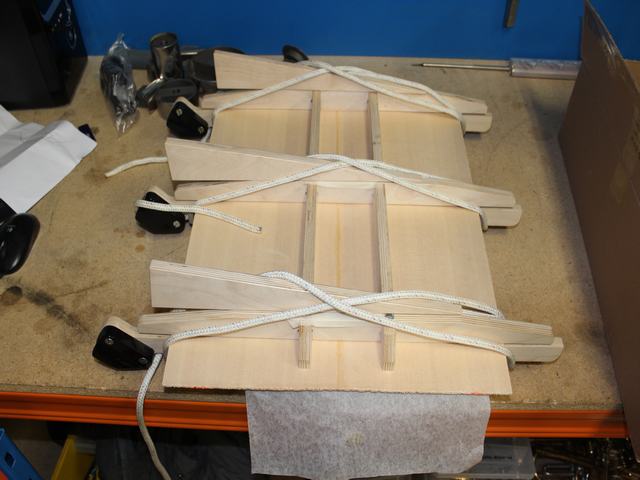
Laying up some brace work
Time to do some gluing

Paint time


Rear view buffed and finished
Front view buffed and finished


