


Copyright � 2018 by "Musical Instrument Repairs WA (MIRWA)" � All Rights reserved � E-Mail: service@mirwa.com.au

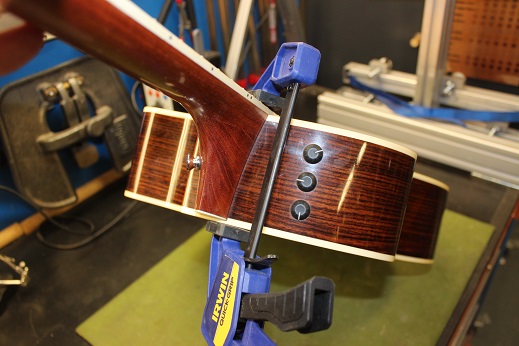
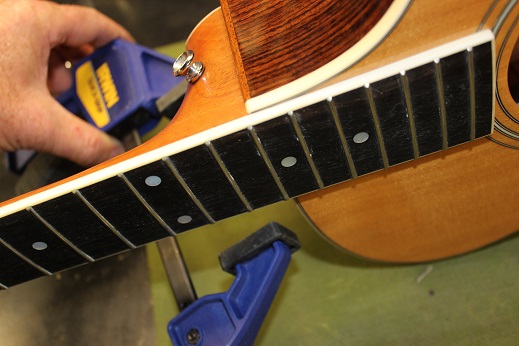


Using a small clamp, we seat the neck downwards with very light pressure.
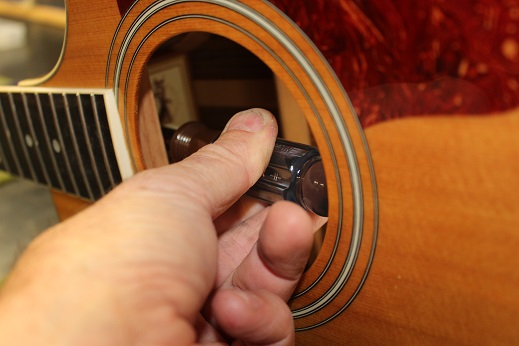
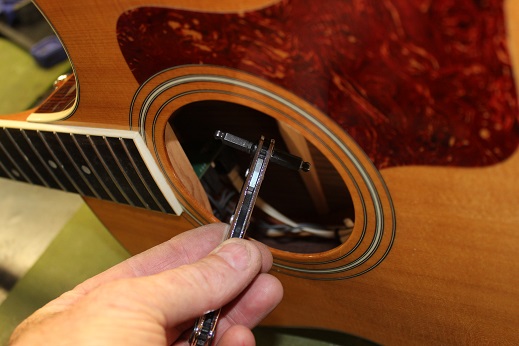
Insert the extension bolt and put it on finger tight only
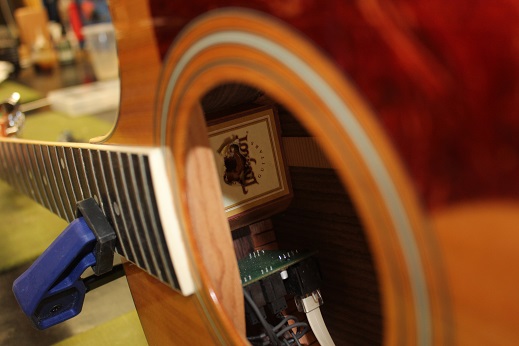
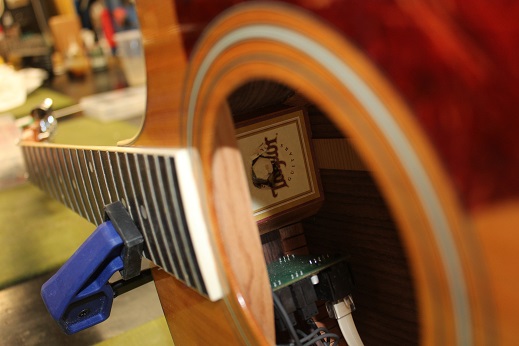
The logo is still there, we dont remove the logo as the risk to damaging the electronics is great.
Then insert the front two heel bolts, again finger tight.
Bottom one.
Top one
When all three bolts are back in place finger tight, then we remove the neck clamp
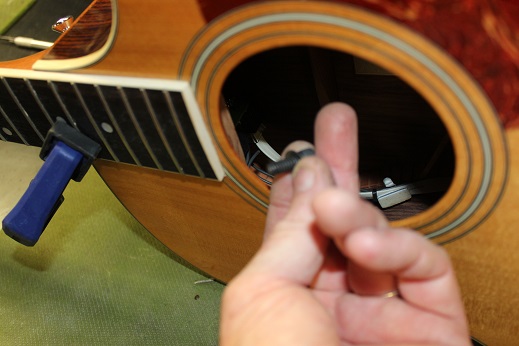
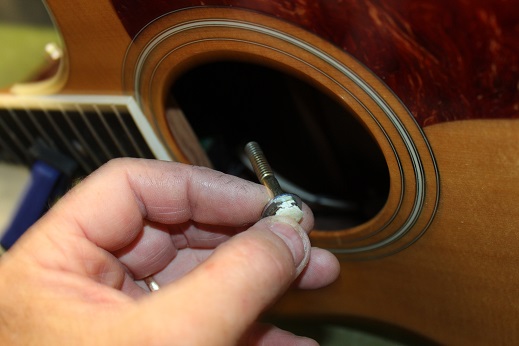
Seat the extension bolt with the allen key, firm but not ridiculous.
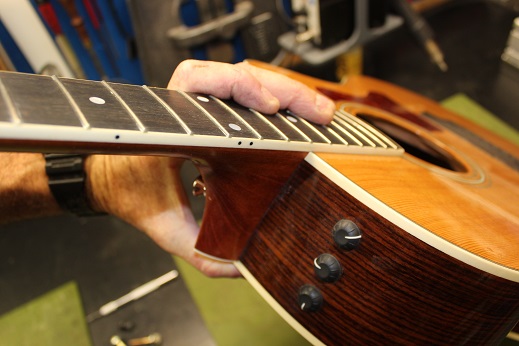
Insert the neck into the neck socket.
Hold firmly in place
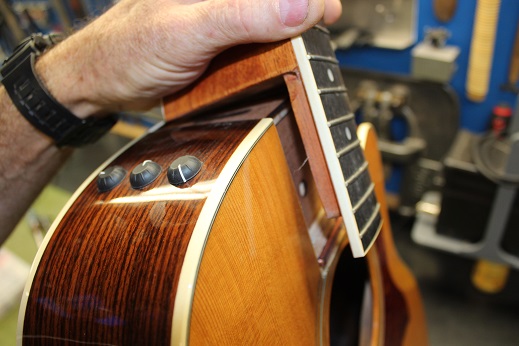
Turn the guitar onto its side.
Switch to the 7/16 nut driver and repeat at the heel.
Loosen and retighten the the allen keyed neck extension bolt.
Loosen and retighten the the allen keyed neck extension bolt.


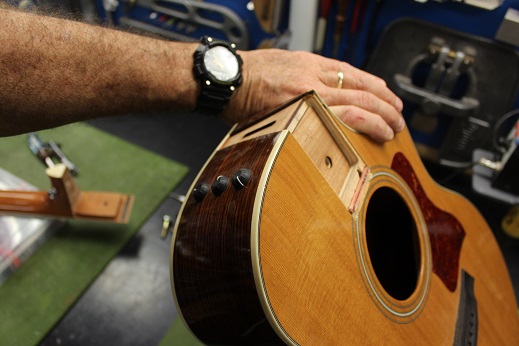
To assemble the neck back onto the guitar, first ensure shims are fitted, tilt the guitar to hold the shims in place.
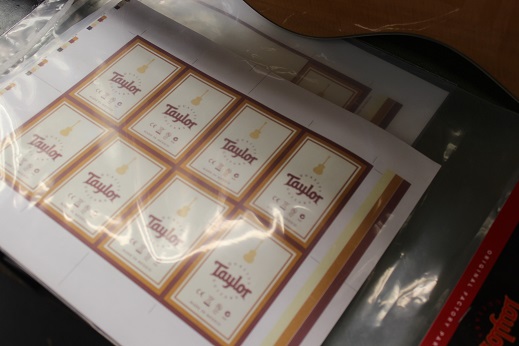
New logos

Apply new logo over the top of the old logo

Job done, always do a setup after removing a neck.


