


Copyright � 2017 by "Musical Instrument Repairs WA (MIRWA)" � All Rights reserved � E-Mail: service@mirwa.com.au

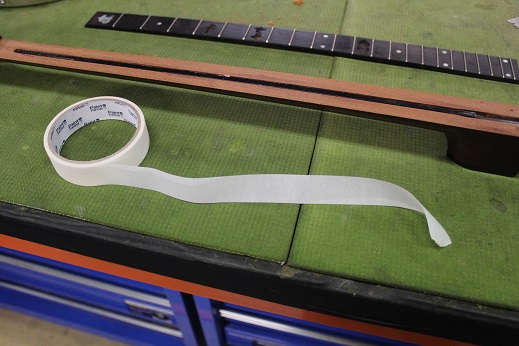


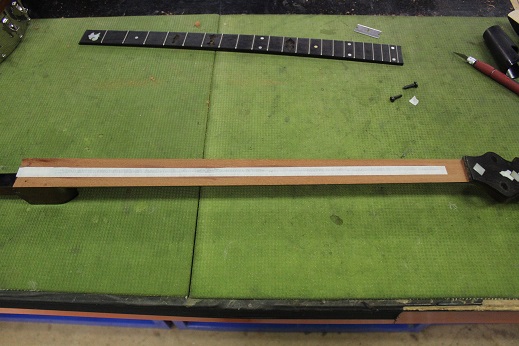
Make sure both surfaces are clean of old gluie, if a truss rod exists, its best to tape it off so no glue gets into its working parts, I use plain white masking tape.
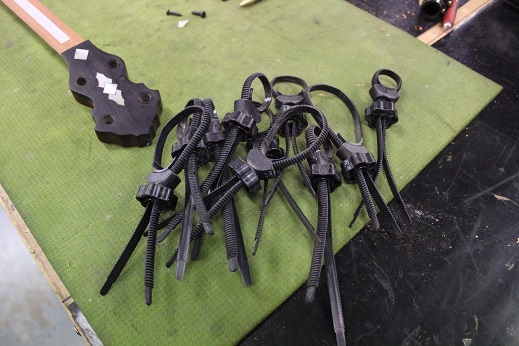
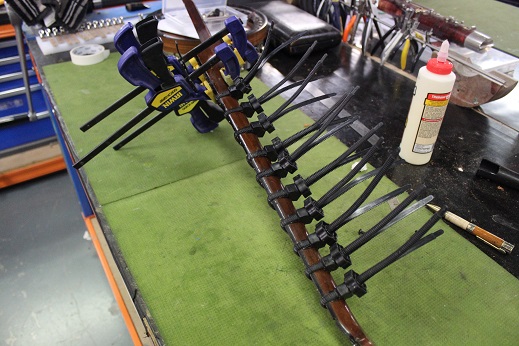
Using some fretboard clamps we are going to bring the two parts back together.
Fretboard clamps are good as they apply an even pressure over the whole clamping surface, general clamps tend not to bring the two surfaces back together neatly, you can use a caul which will minise this issue.
Fretboard clamps are good as they apply an even pressure over the whole clamping surface, general clamps tend not to bring the two surfaces back together neatly, you can use a caul which will minise this issue.
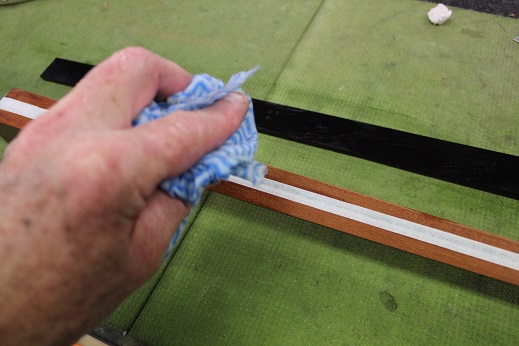
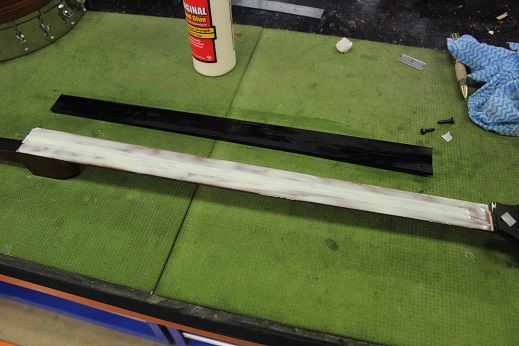
Cleaing both surfaces with a clean dampened cloth
Plenty of titebond glue.
Slide the board back and forth on the glue, this works any air voids out of the joint
Fit the fretboard clamps, I use plain clamps on the end as they go over the square heel, but I place the clamps on each side of the board.
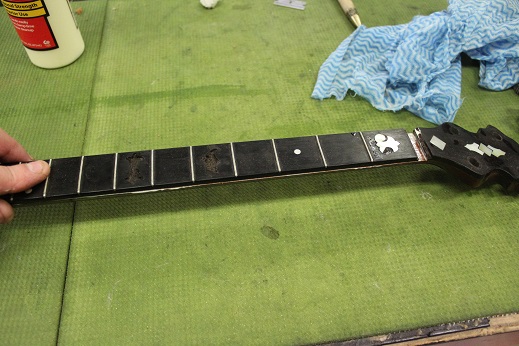
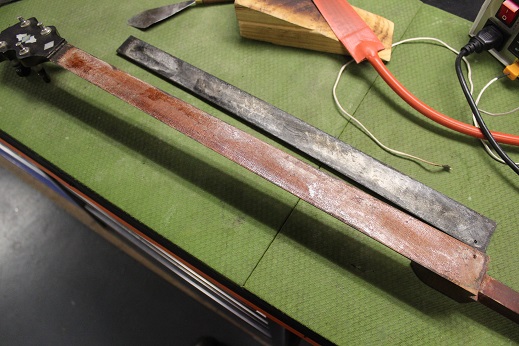
After removing clamps (24hrs later), we lightly scrape the new joined edges of any glue, and any fretboard overhang.
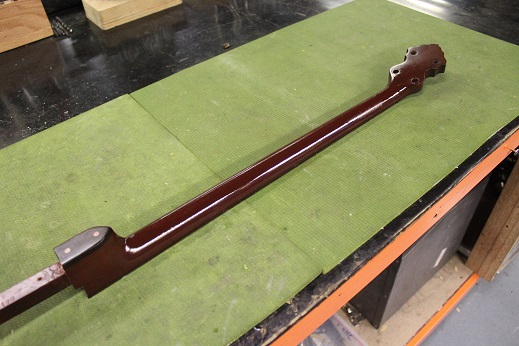
2 fresh coats of clear lacquer to transition the fretboard edges and neck
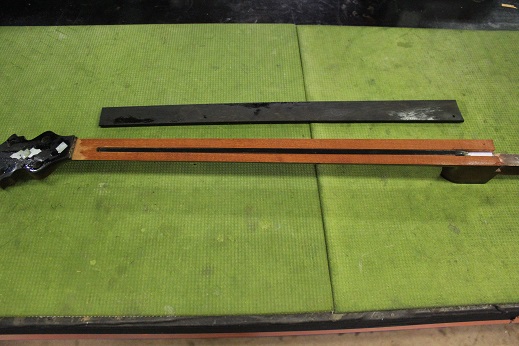
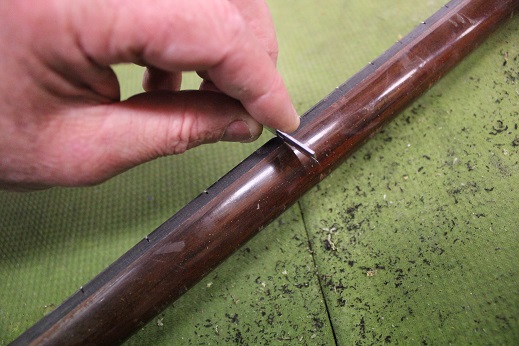
If all went well, you should have just broken the glue bond not actually carved any wood out of the fretboard or the neck.
This neck was then modified to take a truss rod.
Trim the masking tape just to cover the truss rod.
Start assembling the instrument back together and job finished
I recommend always doing a fret level at completion of any fretboard removal and installation
I recommend always doing a fret level at completion of any fretboard removal and installation


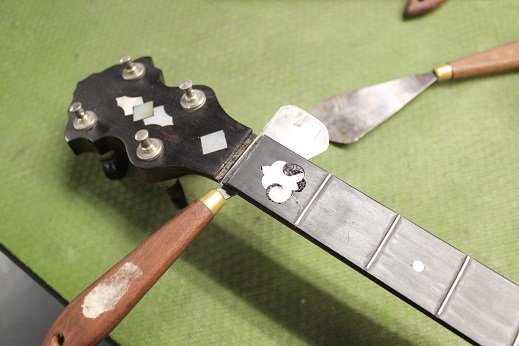
After 10 minutes again we work our spatluas forward until the board is released.


