


Copyright � 2017 by "Musical Instrument Repairs WA (MIRWA)" � All Rights reserved � E-Mail: service@mirwa.com.au

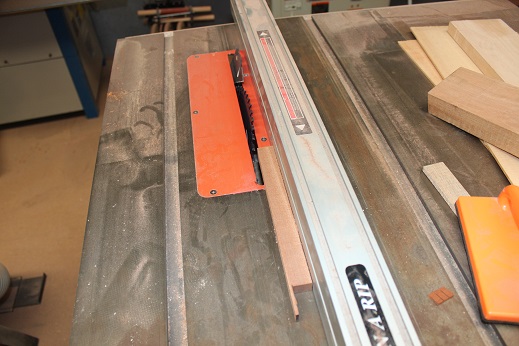


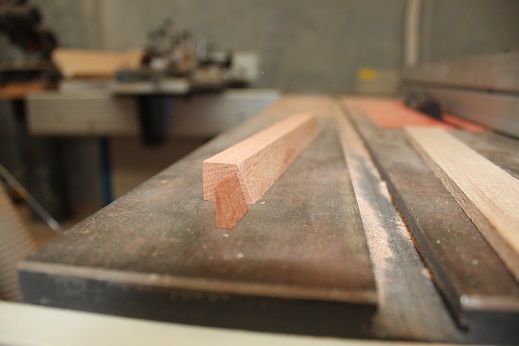
Next step, pass it through the table saw to have a 20 degree edge
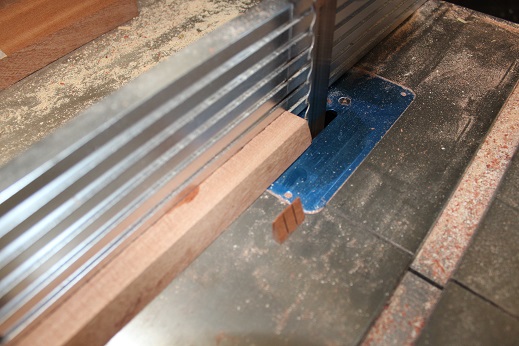
Then we can trim the width again using our bandsaw.
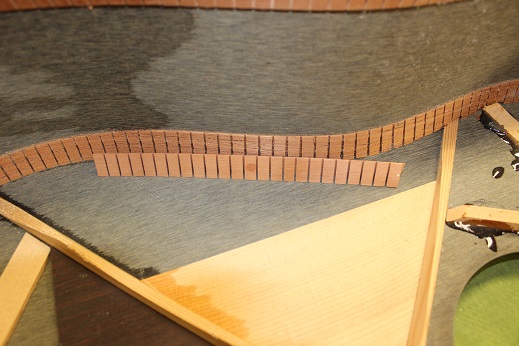
Old kerfing to new profile kerfing.
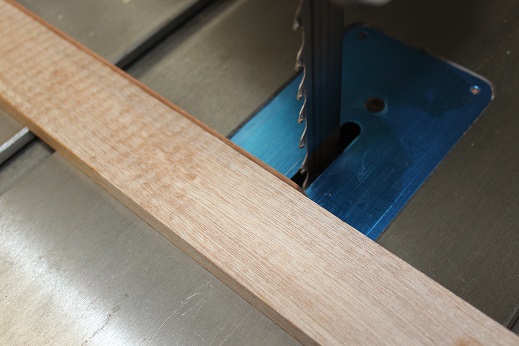
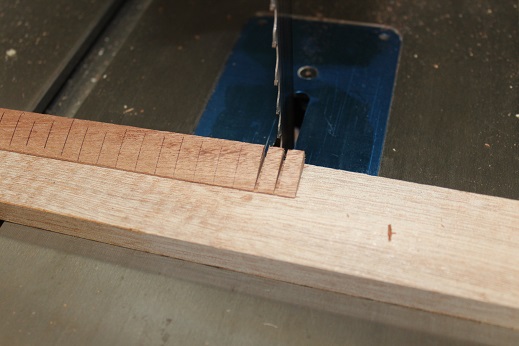
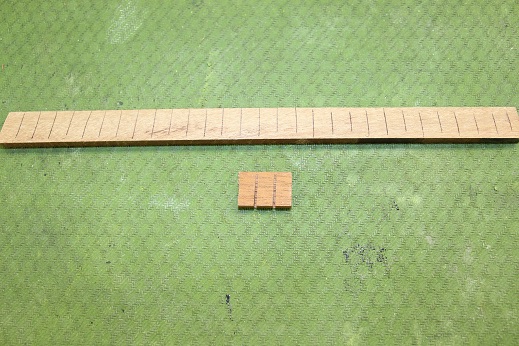
Using a 6mm spacing, I pencil lines onto the fresh cut piece of wood.
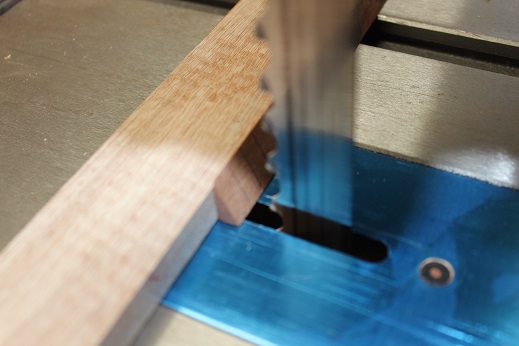
We feed the piece of wood into the bandsaw with a backing board.
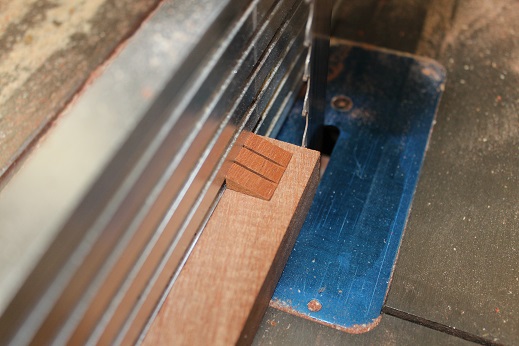
Opposite side of the board to previous photo, you can see the marked lines up against the bandsaw blade.
Here I have done two light cuts to show what we are doing. We are cutting the wood but not all the way through.
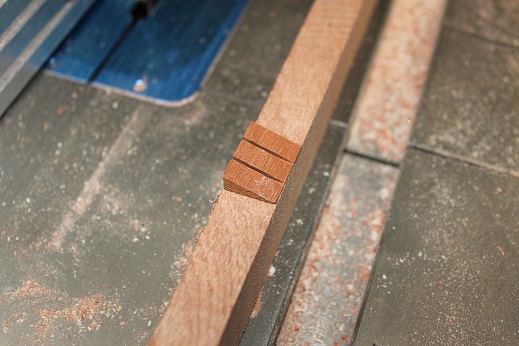
Repeat for the whole length.
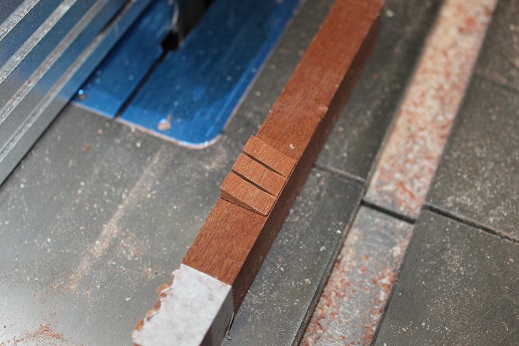
Like so.
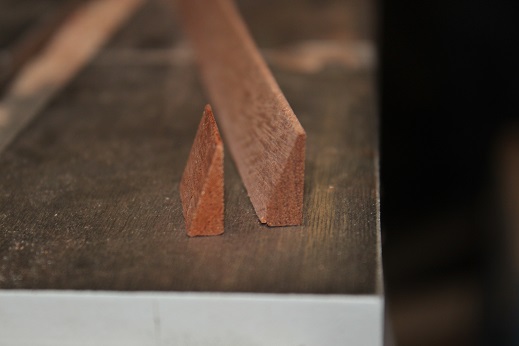
Just for note, the exposed side of the wood is way darker than the freshly cut side, the exposed side matches our original kerfing colour nicley.
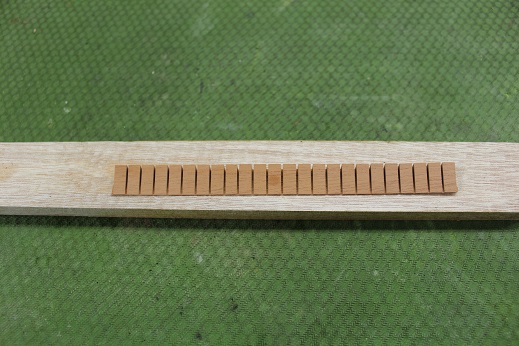
Like so.
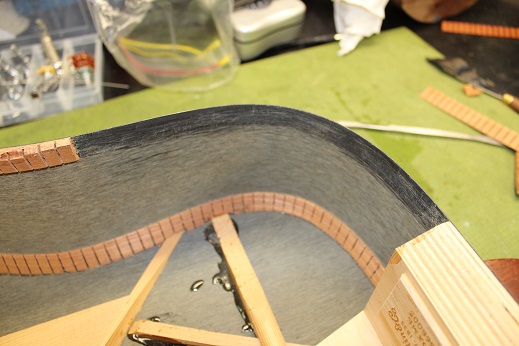
The fresh cut kerfing laid up against the original kerfing in the guitar.


With the sized scrap wood, I am going to trim the width using the old kerfing as reference with my bandsaw.
Clean the old damaged kerfing away.

Clip new kerfing in place ready to be glued up.
Job done.
Job done.