


Copyright � 2016 by "Musical Instrument Repairs WA (MIRWA)" � All Rights reserved � E-Mail: service@mirwa.com.au

This guitar has a pickguard which has slipped its position and looks unsightly, we are going to remove and clean the surface and re-attach the existing pickguard in this follow along.
Approximate time to do a repair like this is about 1 hr.
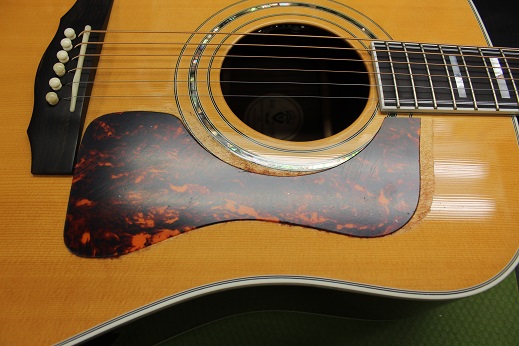

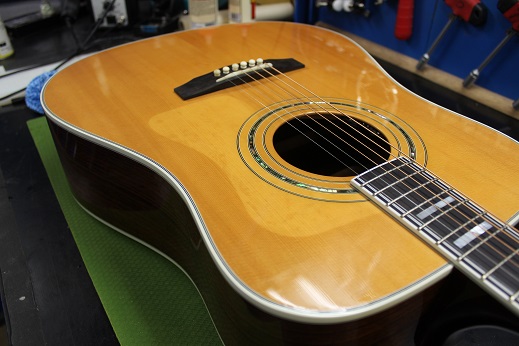


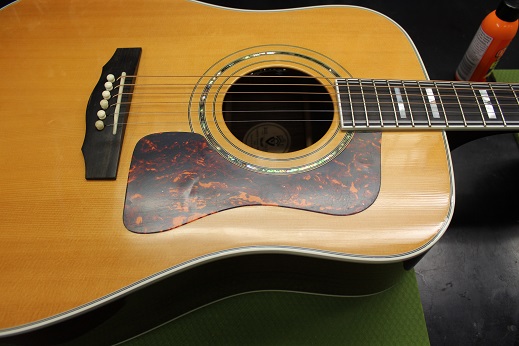


So this pickguard has slipped due to warm heat and sitting in a case standing upright.
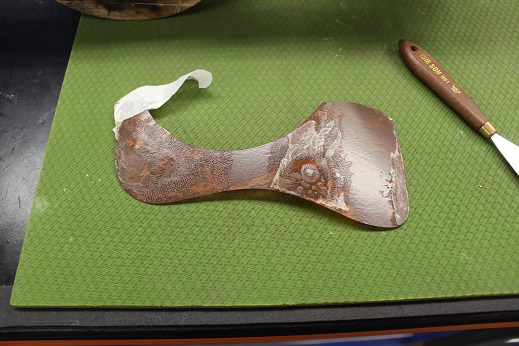
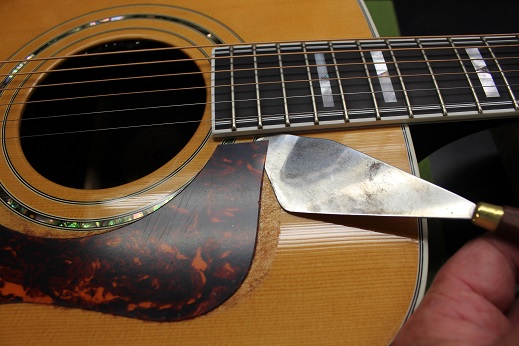
The very first thing to do is lift an edge, use a very smooth edged tool so you do not mark the guitar top
Once an edge is lifted, I roll a piece of masking tape under and over , so I have some grip.
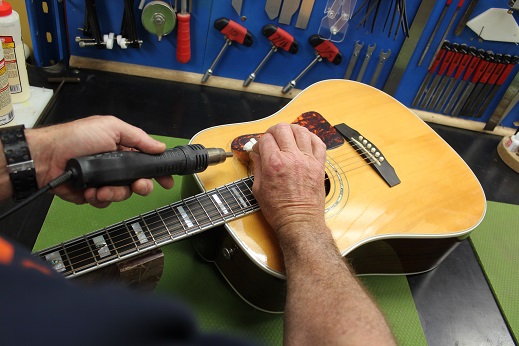
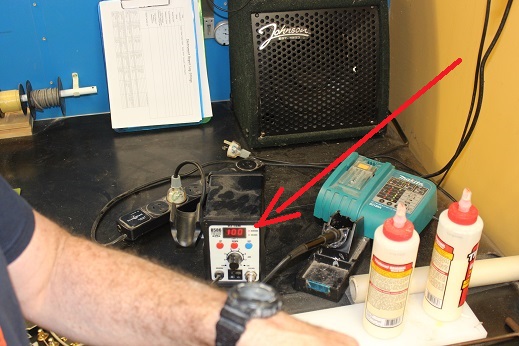
Using a heat gun, I dial up 100 degrees celcius, this is hot enough to generate some warm air without burning the top, every air gun is different, you need to experiment to find out the correct settings

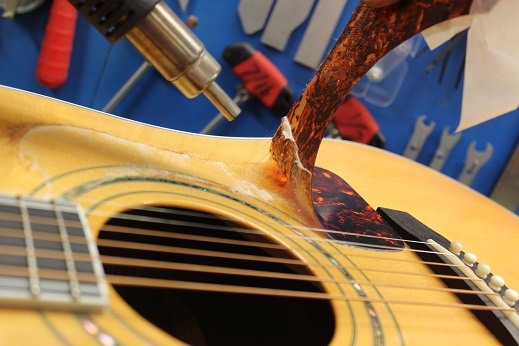
Using my masking tape handle I slowly lift the guitar and apply the heat source under the pickguard
Take your time dont rush the job, let the heat do the work.
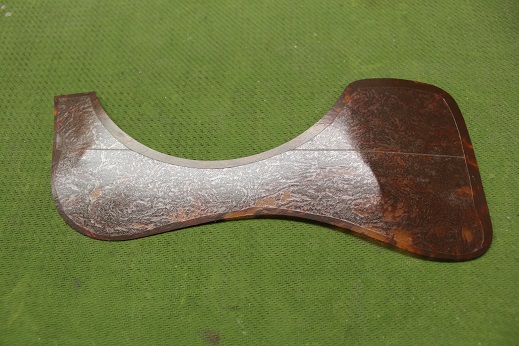
Once the pickguard is off, leave it for 30 minutes so there is no chance of damaging any softened lacquer (if some did soften)
Removed pickguard
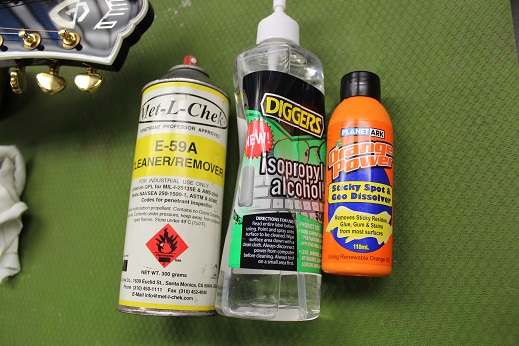
In an incospicuous spot, test out the cleaning agent to make sure it does not react with the paint. These are the typical three that I choose from
Slowly break the glue down and remove it bit by bit.
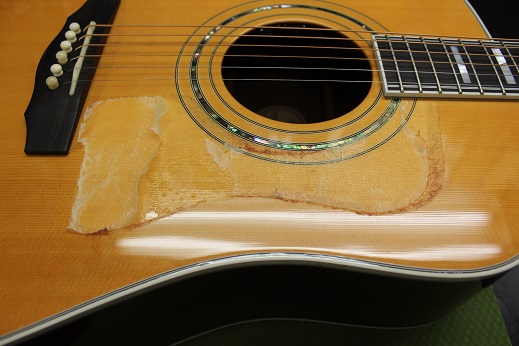
Once the glue is all gone, I always wash the guitar with a detergent to neutralise any chemicals, then wipe down with clean fresh water
Top cleaned and prepped
Attach double sided tape, to the cleaned pickguard or if you have a new one, peel the cover of the back
Clean the back of the pickguard
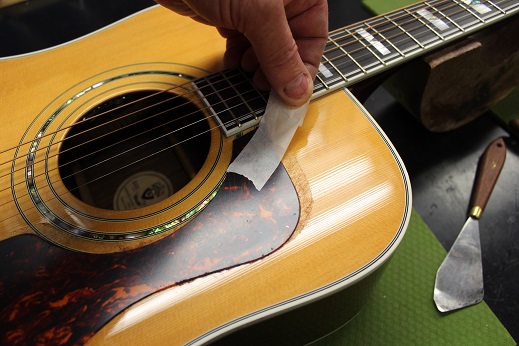
Being super super careful, gently place the pickguard into its new position, lightly rub the surface to ensure good adhesion
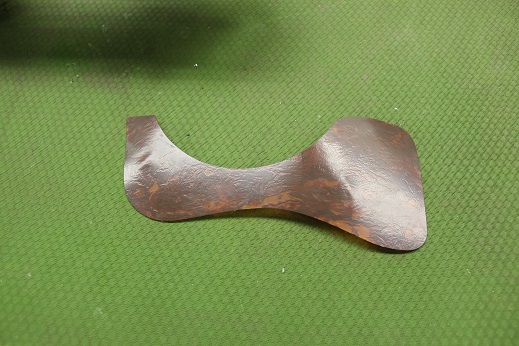
Sometimes if you re-use an original pickguard you may get a crease or two, this will settle back down with time.
Sometimes if you re-use an original pickguard you may get a crease or two, this will settle back down with time.