


Copyright � 2017 by "Musical Instrument Repairs WA (MIRWA)" � All Rights reserved � E-Mail: service@mirwa.com.au

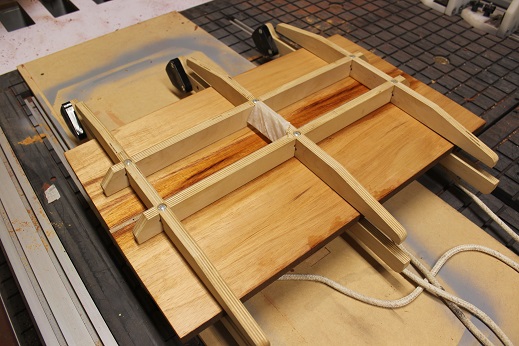


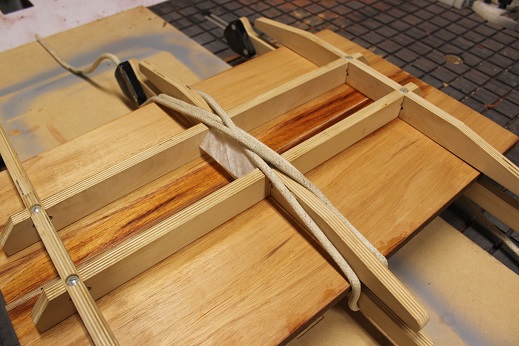
Top clamp goes on to apply downwards pressure
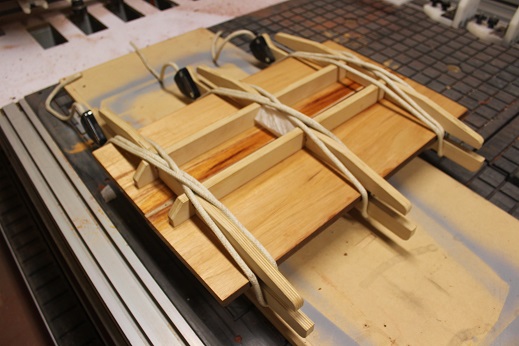
We then insert a wedge under the rope, which adds tension to the joint
Repeat for all three locations.
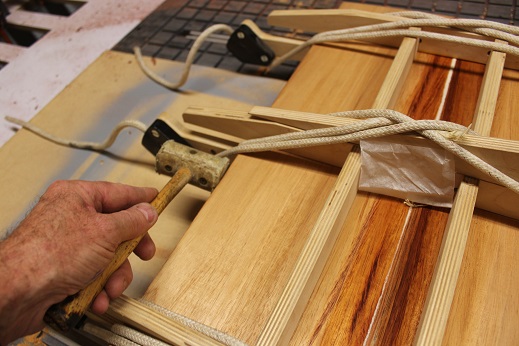
Using a rawhide hammer, I gently tap the sides of the wood to make sure they are seated into each other firmly.
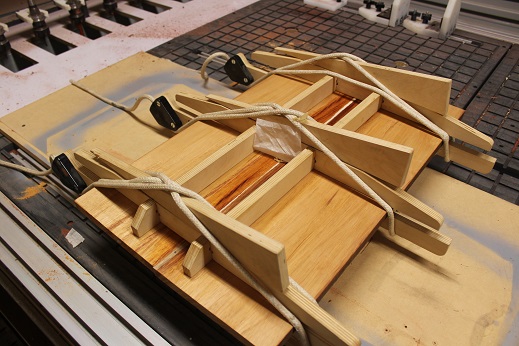
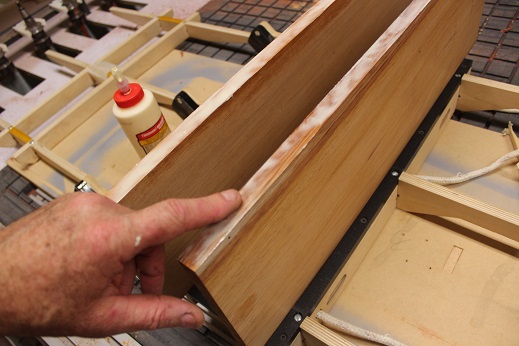
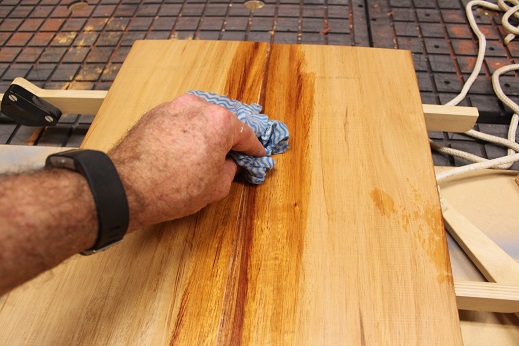
Tight and clamped, excess glue is visible on the join line.
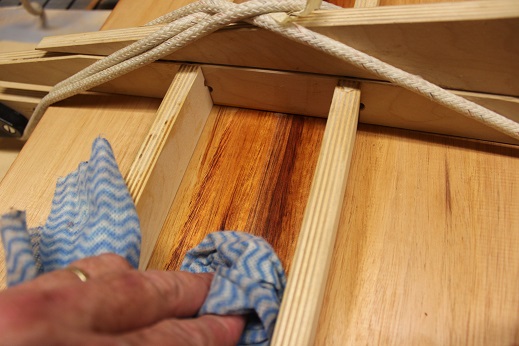
Using a wet cloth, we wipe the bulk of it away.
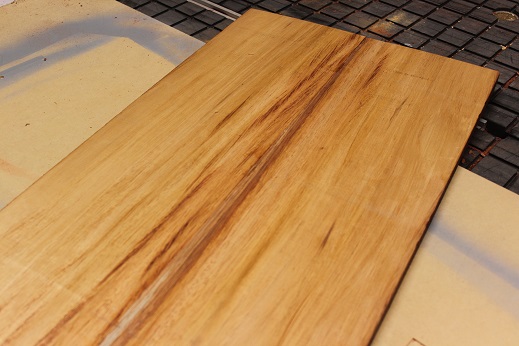
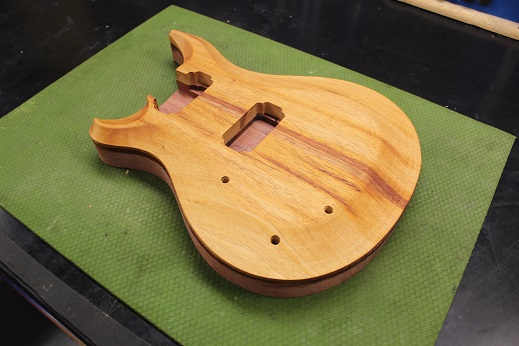
After 24hrs, remove the wood from the clamping fixture
Job Finished, one bookmatched piece of wood.
Job Finished, one bookmatched piece of wood.
For info, that piece of wood became this drop top.
Smear it with your finger and apply to both pieces.
Slide the pieces against each other and wipe the excess glue away.
Its simply tied in place with rope at three locations


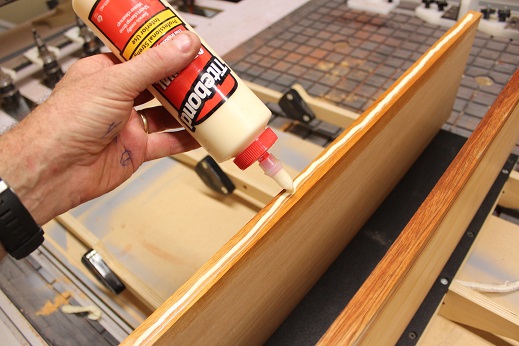
Apply a bead of titebond to the joining area.