


Copyright � 2017 by "Musical Instrument Repairs WA (MIRWA)" � All Rights reserved � E-Mail: service@mirwa.com.au


The assembly starts with the base shell.
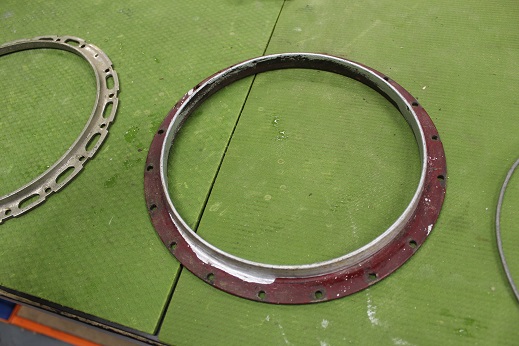
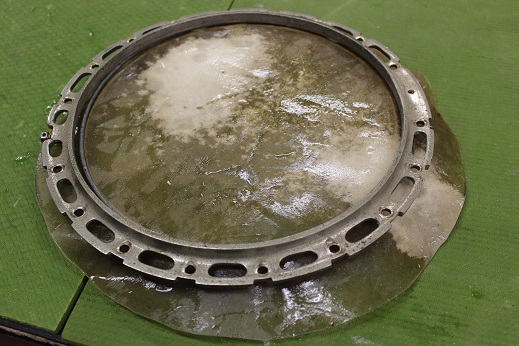
Our metal ring goes next.
And last our outer shell.
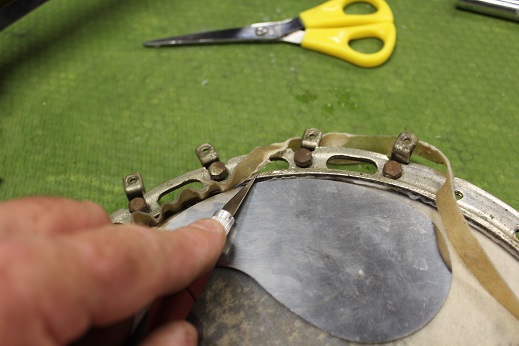
Then lift and tuck the outer skin as shown
Do that around the whole perimeter, I use some of the tension rods to hold it together as I am assembling and tucking
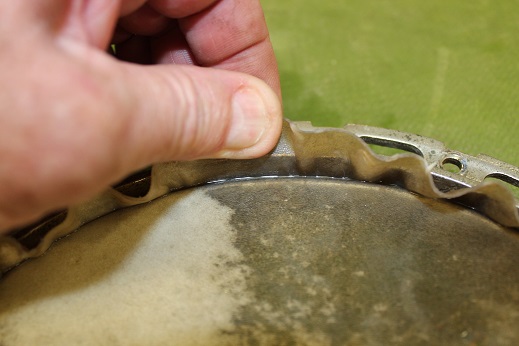
Slowly fit more of the tension rods
While the tension is lightly applied, we straighten any wrinkles from around the border, by pulling the skin left or right
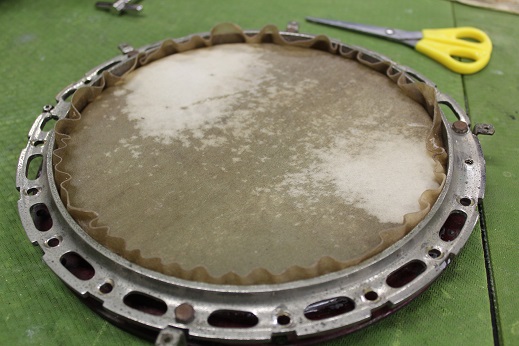
Wind the tension rods until the new drum head is taught.
One natural Drumhead ready to be fitted.
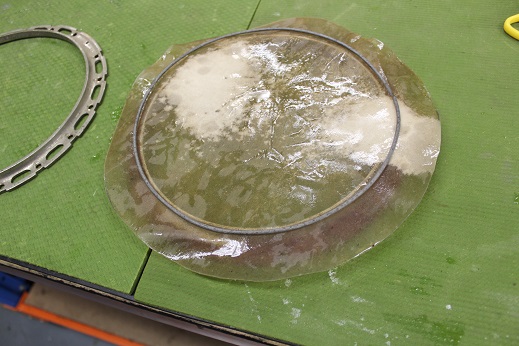
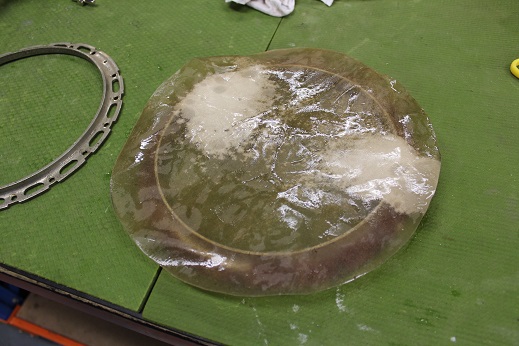
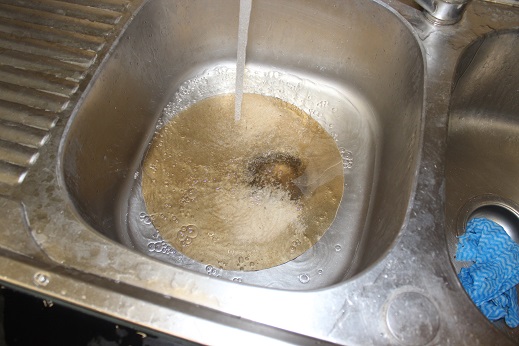
We soak the skin in hot water for approximatley 30 minutes.
The wet skin is placed on top.
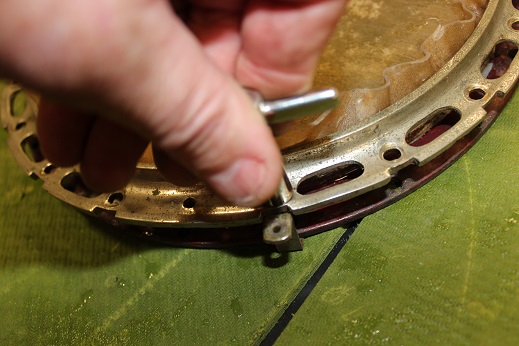
Once dry (24hrs), we slice the excess skin away, I use a small sliver of steel to protect the new skin from my razor blade.


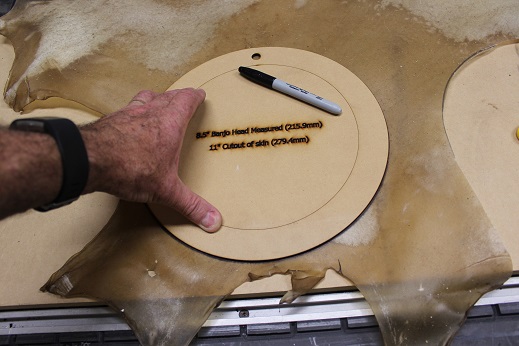
We place a template that is 8.5 Inches plus a full inch around the border onto our skin to trace and cutout.
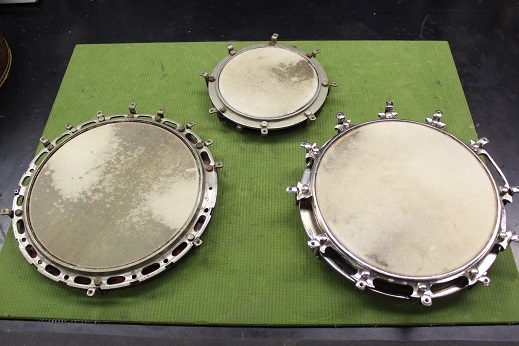
Drum heads all finished ready to be fitted back onto the instruments.
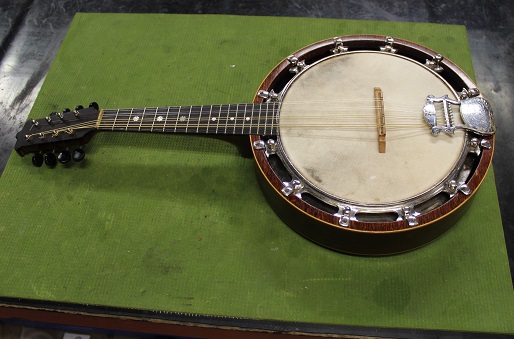
Fitment of drum head back to the body is a simple reversal of the removal procedure.